Dify
Dify 是一个开源的大语言模型应用开发平台,旨在帮助开发者快速构建和部署生成式 AI 应用。
本文介绍了如何部署 Dify,并使用 VexDB 实现 RAG 向量数据存储的教程。
前提条件
在部署 Dify 之前,请确保已经参考 安装 VexDB 的内容完成了数据库的安装,并部署了 Python3 环境。
安装 Dify
- 从工程师处获取已经适配了 VexDB 的 Dify 镜像文件,使用如下命令将 Docker 镜像加载到本地:
docker load -i vexdb.dify-api.{version}.tar.gz - 修改 docker-compose.yaml:
Docker-Compose.yaml 是 Docker Compose 的配置文件,用于定义和启动多容器 Docker 应用,可以使用相关命令一键启动文件中定义的所有服务。# ================================================================== # WARNING: This file is auto-generated by generate_docker_compose # Do not modify this file directly. Instead, update the .env.example # or docker-compose-template.yaml and regenerate this file. # ================================================================== x-shared-env: &shared-api-worker-env ... 省略 VEXDB_HOST: ${VEXDB_HOST:-vexdb} VEXDB_PORT: ${VEXDB_PORT:-5432} VEXDB_USER: ${VEXDB_USER:-dify} VEXDB_PASSWORD: ${VEXDB_PASSWORD:-Difyai123456} VEXDB_DATABASE: ${VEXDB_DATABASE:-dify} VEXDB_MIN_CONNECTION: ${VEXDB_MIN_CONNECTION:-1} VEXDB_MAX_CONNECTION: ${VEXDB_MAX_CONNECTION:-5} ... 省略 services: # API service api: image: vexdb/dify-api:1.7.1 restart: always environment: # Use the shared environment variables. <<: *shared-api-worker-env # Startup mode, 'api' starts the API server. MODE: api SENTRY_DSN: ${API_SENTRY_DSN:-} SENTRY_TRACES_SAMPLE_RATE: ${API_SENTRY_TRACES_SAMPLE_RATE:-1.0} SENTRY_PROFILES_SAMPLE_RATE: ${API_SENTRY_PROFILES_SAMPLE_RATE:-1.0} PLUGIN_REMOTE_INSTALL_HOST: ${EXPOSE_PLUGIN_DEBUGGING_HOST:-localhost} PLUGIN_REMOTE_INSTALL_PORT: ${EXPOSE_PLUGIN_DEBUGGING_PORT:-5003} PLUGIN_MAX_PACKAGE_SIZE: ${PLUGIN_MAX_PACKAGE_SIZE:-52428800} INNER_API_KEY_FOR_PLUGIN: ${PLUGIN_DIFY_INNER_API_KEY:-QaHbTe77CtuXmsfyhR7+vRjI/+XbV1AaFy691iy+kGDv2Jvy0/eAh8Y1} depends_on: db: condition: service_healthy redis: condition: service_started volumes: # Mount the storage directory to the container, for storing user files. - ./volumes/app/storage:/app/api/storage networks: - ssrf_proxy_network - default # worker service # The Celery worker for processing the queue. worker: image: vexdb/dify-api:1.7.1 restart: always environment: # Use the shared environment variables. <<: *shared-api-worker-env # Startup mode, 'worker' starts the Celery worker for processing the queue. MODE: worker SENTRY_DSN: ${API_SENTRY_DSN:-} SENTRY_TRACES_SAMPLE_RATE: ${API_SENTRY_TRACES_SAMPLE_RATE:-1.0} SENTRY_PROFILES_SAMPLE_RATE: ${API_SENTRY_PROFILES_SAMPLE_RATE:-1.0} PLUGIN_MAX_PACKAGE_SIZE: ${PLUGIN_MAX_PACKAGE_SIZE:-52428800} INNER_API_KEY_FOR_PLUGIN: ${PLUGIN_DIFY_INNER_API_KEY:-QaHbTe77CtuXmsfyhR7+vRjI/+XbV1AaFy691iy+kGDv2Jvy0/eAh8Y1} depends_on: db: condition: service_healthy redis: condition: service_started volumes: # Mount the storage directory to the container, for storing user files. - ./volumes/app/storage:/app/api/storage networks: - ssrf_proxy_network - default # worker_beat service # Celery beat for scheduling periodic tasks. worker_beat: image: vexdb/dify-api:1.7.1 restart: always environment: # Use the shared environment variables. <<: *shared-api-worker-env # Startup mode, 'worker_beat' starts the Celery beat for scheduling periodic tasks. MODE: beat depends_on: db: condition: service_healthy redis: condition: service_started networks: - ssrf_proxy_network - default ... 省略 - 手动在宿主机创建映射目录,并参考以下步骤分配目录权限:
# 在 docker-compose.yaml 文件目录下执行 mkdir vexdb chown 1000:1000 vexdb cd vexdb mkdir lic chown 1000:1000 lic mkdir data chown 1000:1000 data mkdir backup chown 1000:1000 backup mkdir backup_log chown 1000:1000 backup_log - 执行启动命令:
docker compose --profile vexdb up -d
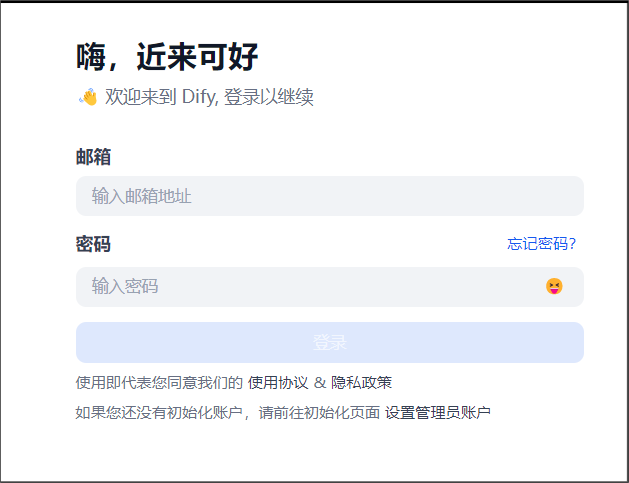
访问 Dify
在浏览器中访问本地部署的Dify WEB 服务页面,在这里创建管理员账户,然后登录 Dify 主页以便进行下一步使用。
http://localhost/install
更多使用方法和指导,请查阅 Dify 官方文档。